
The development of early literacy skills progresses in stages. Beginning concepts should be taught before introducing more difficult ones. By following a proper developmental progression, we assist the child’s natural learning capabilities. This is why I have decided to write a series about {Early Literacy Stages}. These stages will all inter-mingle with one another, but it is important to define them, and I recommend introducing them in this order.

Here are the Early Literacy Stages for childhood learning:
-
Uppercase letter recognition
-
Tactile uppercase letter writing
-
Utensil prewriting and uppercase letter writing
-
Lowercase letter recognition (and matching uppercase with lowercase letters)
-
Lowercase phonetic sounds
-
Lowercase letter writing
The entire scope of literacy includes the following: reading, writing, speaking, listening, viewing, and representing. I am focusing on reading letters and writing letters for this series. However, the other components are very important in developing the whole child towards literacy and becoming a lifelong learner.
Please note: I do not label these stages by age — I have met 18-month-olds who have learned all of their upper and lowercase letters and I have taught 5-year-olds who were still struggling to learn both. It is important to meet the learner where they are and embrace the child’s pace!
Please see my {Early Literacy Stage 1} to read about why I am teaching uppercase letters first.
How do we further develop uppercase letter recognition through tactile experiences?
1. Read, read, read! This was my first suggestion for my first stage of learning as well. A child must have experiences with books morning, day, and night. Reading to your child opens them up to a world of imagination and developmental readiness towards print awareness and learning. Here are more suggestions to promote tactile exploration in book reading:
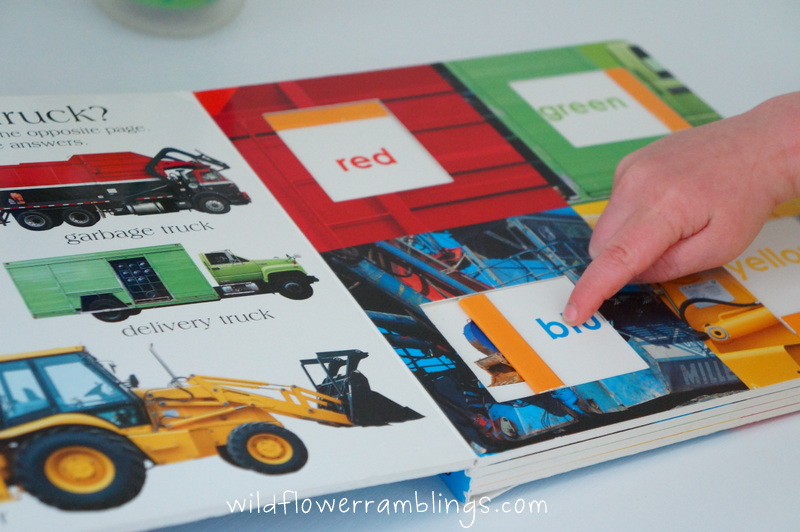
- Choose books that have a “touch and feel” element.
- Choose books that have sliding or folding pages.
- Choose books that have pop-up features.
2. Use shaving cream on your tabletop: experiment with prewriting straight and curved lines by first showing your child how to write with his/her pointer finger. The goal is exposure and not perfection!

This is my son exploring shaving cream, but when he is ready, he will use his pointer finger and try to write his letters.
3. Put a shallow amount of sand or sugar in a bin: prewrite straight lines and curved lines and write the letter with a finger.

Here is a friend working with blue sand in her outdoor water table.
4. Tape a squishy bag to a table top or window and have the child write straight and curved lines and the letter with a finger.

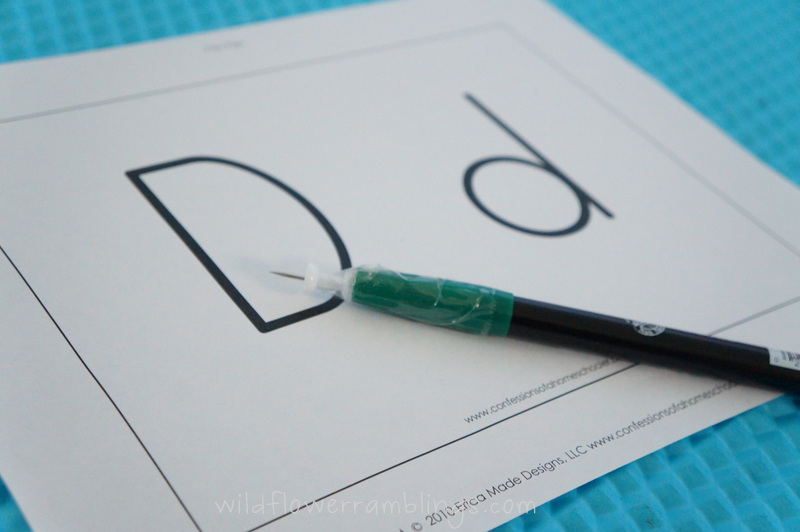
5. Use a push-pin-pen with a letter page and poke the letter to get a feel for its straight and curved lines. Small push-pins are not safe for children to use, but I love this concept, so I taped a push pin to a marker very securely. You can get these sheets from Confessions of a Homeschooler individually, by letter, or you can print the uppercase letters from Alphabet Printables.
6. Use Do-A-Dot markers to write the letter. Here are some awesome printables and ideas from Confessions of a Homeschooler.

7. Learn how letters are built using alphabet letter templates. This is an advanced step and should be taken closer to when you think your child is ready to begin writing uppercase letters — this will also be a part of my {Early Literacy Stage 3}: Utensil prewriting and uppercase letter writing.
All of the alphabet letters include either straight lines, diagonal lines, and/or big and little curves and these awesome letter builders help children to grasp the parts of the letters. You can buy wooden ones from the Handwriting Without Tears curriculum. I love their no-fuss approach to handwriting. They recommend the following schedule for learning to print letters:
- Vertical & Horizontal Lines: L, F, E, H, T, I, U
- Magic C: C, O, Q, G, S, J
- Big & Little Curves: D, P, B
- Diagonal Lines: R, K, A, V, M, N, X, Y, Z

These templates can be found for free from the following two sites — I made mine out of colorful paper-foam: Build-A-Letter Templates (includes mats) from Tired, Need Sleep Blog or Magnetic Alphabet Builders from Confessions of a Homeschooler.
How have you taught your child the alphabet? What tactile experiences have you used to help your child learn and write letters?

Or follow my blog with Bloglovin!

Please check out my Link-Up page to see where I may link this blog post.
Thanks for featuring me ♥


Pingback: Ideas For Teaching A Happy Alphabet | Little Bins for Little HandsLittle Bins for Little Hands
Thanks so much for these ideas! I have an almost 3 year old REALLY interested in letters right now. He loves the on the fridge and shouts them when he sees the ones he recognizes. He would enjoy the shaving cream and squishy bag for sure!
Thanks Lisa, I know my son loves the “messy” activities — he has no idea that he is learning :)
Love your blog!
Hope you will stop by and like Simple as 1-2-3!
=)
http://simpleas1-2-3.blogspot.com
https://www.facebook.com/pages/Simple-as-1-2-3/159828580721825?ref=hl
Thanks, Melissa!!
This is an amazing post! Such a great resource!!! I love all the sensory activities. Those really do help kids get ready to write!
Thanks so much Angela!! That means so much from you!
What creative ideas for tactile letter writing!
I featured this at TGIF today – http://www.123homeschool4me.com/2013/05/tgif-linky-party-76.html! Thanks for linking up and sharing your creativity with all of us!
Feel free to grab an I was featured button if you like and I hope to see you linked up again today!
Have a great weekend,
Beth =)
Thank you so much, Beth, I’ll be featuring your uppercase ABC printables for my next stage in utensil writing!! ♥
Great ideas– we have used many of them!! And I just made my own build a letter template for the letter b, didn’t know there were free templates out there! Thanks so much!
As an OT who has taught many kids handwriting using sensory components, I LOVE this post :) Thanks for sharing with us at Share It Saturday!
Colleen at http://www.sugaraunts.com
Pingback: {Early Literacy Stage 3} Utensil Prewriting and Uppercase Letter Writing | wildflowerramblings