We spent two weeks on the Letter L! We focused on leaves and two books: The Grouchy Ladybug and The Little Lamb.

We focus on a letter every week and do fun activities based on that letter. I usually set six “Tot Trays” up for my son to play with and learn as the week progresses. I had a six-tray set-up in the kitchen, with six trays from Oriental Trading. Promoting the four Montessori principles: Language, Mathematics, Sensory, and Practical Life.
I have decided to only put out one or two trays out at a time. Some children would thrive with all six trays out, as I was doing up until Letter K, but my son needed less in front of him. My child thrives with less choice and I have found that one or two trays engages him more than six trays.

At the beginning of the week, I cut out each of the following from our Tot School ABCs curriculum — this makes Tot School time easier for me, when we are “in the moment.”
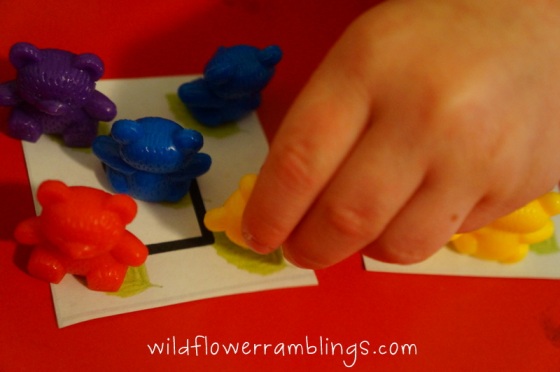
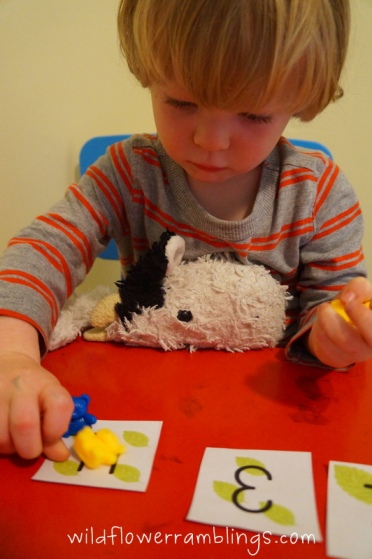
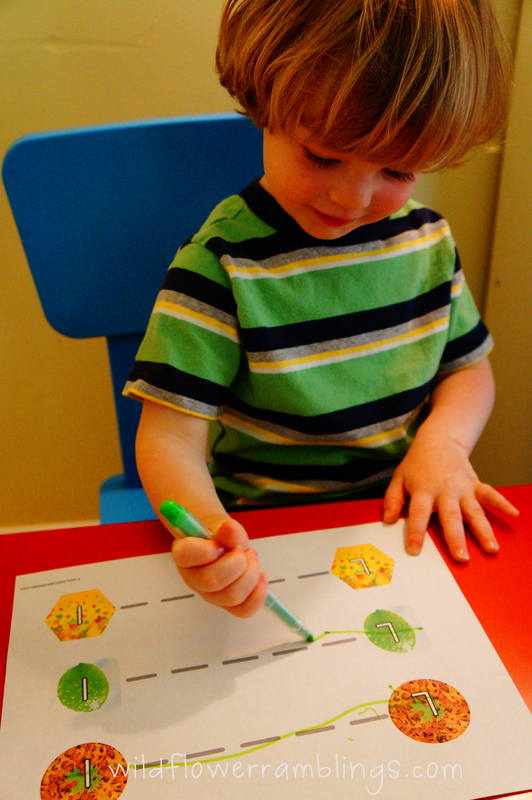
- Numbers: for using manipulatives in 1:1 correspondence
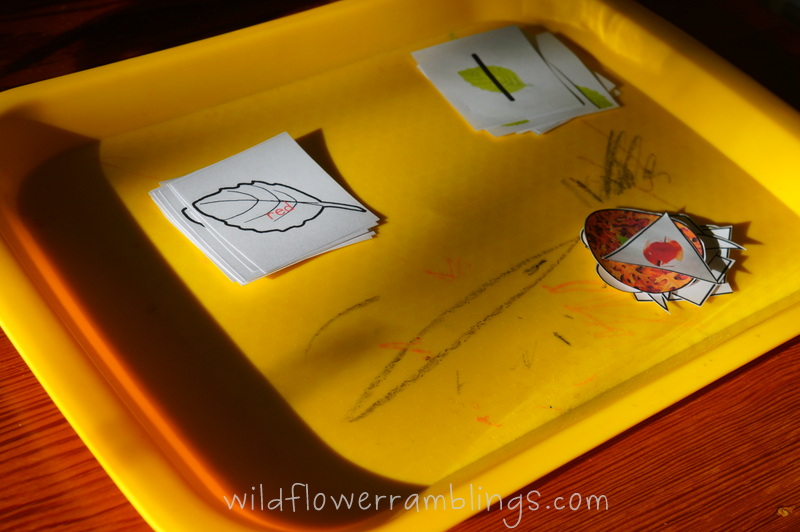
- Colors: coloring with markers or crayons
- Shapes: gluing onto a piece of paper

{Disclosure: affiliate links may be in this post.}
Here is John with his numbers. He is learning 1:1 correspondence with these adorable bear counters.

Lauri capital letter peg puzzles.

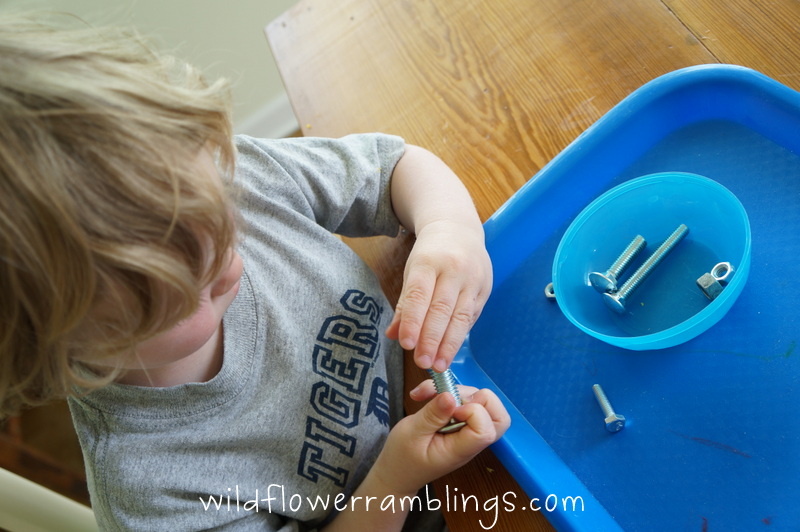
I bought four different sized screws and corresponding bolts at the hardware store. He was very excited about this tray! He got hard at work with his fine motor pincer grasp skills — it was difficult for him to master, so we will be doing this again! (I had to keep this one up due to having a crawling baby in the house!)


I saw this fun magnet stick from Memorizing the Moments and wanted to get one! It was $2.99 at Amazon! A fun introduction to magnetism!

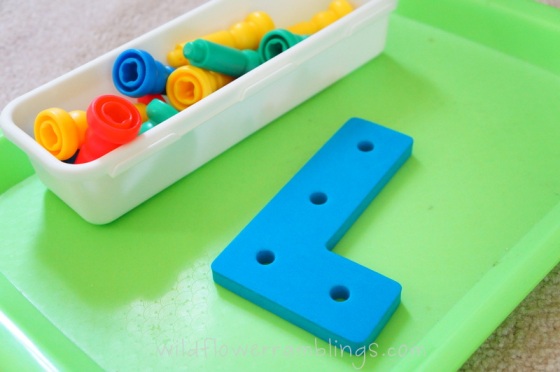
Michelle at Delightful Learning had such a fun idea — to get these links and put them in the holes for lacing cards — John loved this!!


I made this schedule to organize our Tot School time, according to the Montessori principles: Language, Mathematics, Sensory, and Practical Life. I didn’t get a picture of mine from Letter L, but this is what the blank one looks like:


Bible verse of the week:
Man looks on the outward appearance, but the Lord looks at the heart. 1 Samuel 16:7
We had a lot of use out of this bible verse this week!
We use the ABC bible verse songs from Songs for Saplings. These songs are so catchy, beautiful, not “children’s music annoying,” and I find myself singing and learning and memorizing the bible verses along with John. Carisa at 1plus1plus1equals1 has made coordinating ABC Bible Verses posters which have really helped with his memorization as well.
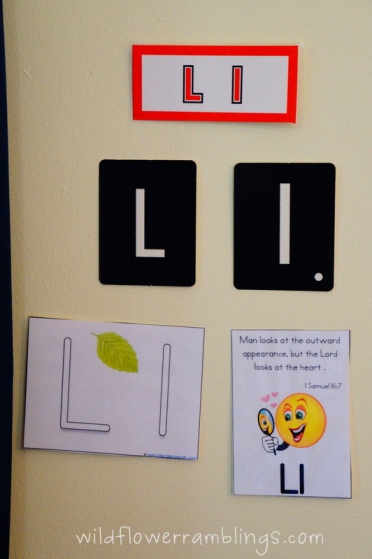
We put up our bible verse, a Ll small poster from Tot School, a Ll sign from my Kindergarten teaching days, and these wonderful Montessori sandpaper letters. We put these up on the wall so he could feel the letter every morning and trace his fingers on the letter.
Letter of the week: Ll
Our curriculum consists of 1plus1plus1equals1‘s Tot School ABC’s.
John has really gotten the hang of tracing!! We do this with dry erase markers and heavy duty sheet protectors. Erasing is a handy practical life skill as well!
Check out my recent post about utensil prewriting and letter writing in {Early Literacy Stage 3}.

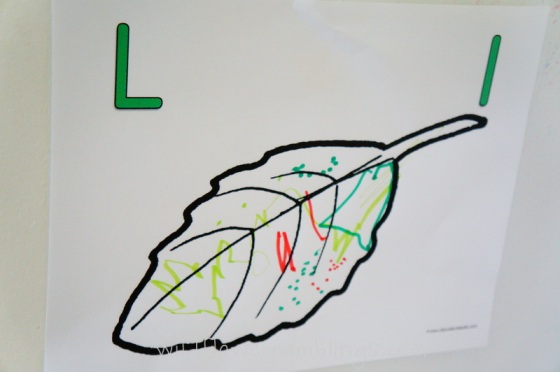
Do-A-Dot markers on his L pages.

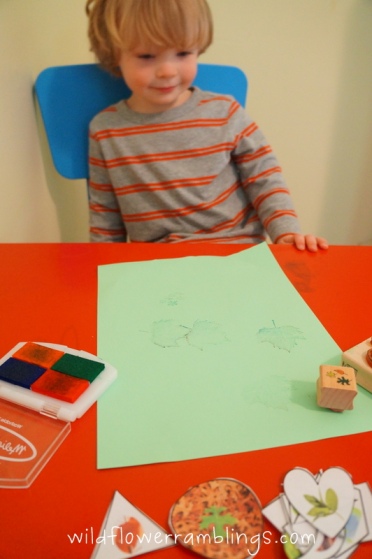
Stamping an L on the Leaf!

For our Leaf shapes, we stamped some leaves on a green sheet of paper and glued our shapes on, while we talked about the shape names!

Our work for the week on a clothesline in his room:

And our L magnets and Leap Frog Letter Factory magnets on our refrigerator:

Book of the week:

John pulled out this book from his shelf and has fallen in love with it! The Grouchy Ladybug by Eric Carle has a lot of great life lessons in it. We have learned about night time versus daytime, telling time with clocks, sharing, learning about the circle of life, learning about large and small animals, and the importance of friendship.

We colored a picture of a Leaf and colored both the ladybugs and the little aphids. This was very exciting, as this was the first time John has intentionally colored. {Proud mama moment.}


We also read The Little Lamb by Phoebe and Judy Dunn — so stay tuned for the post on that fun book later this week!

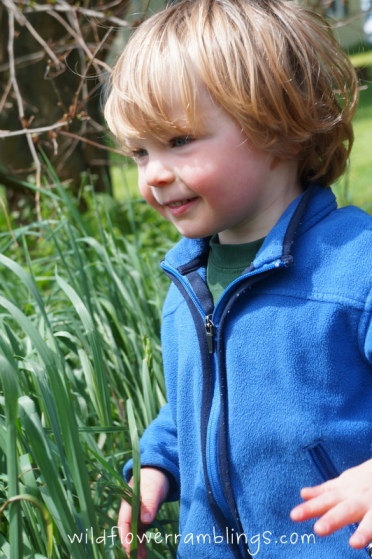
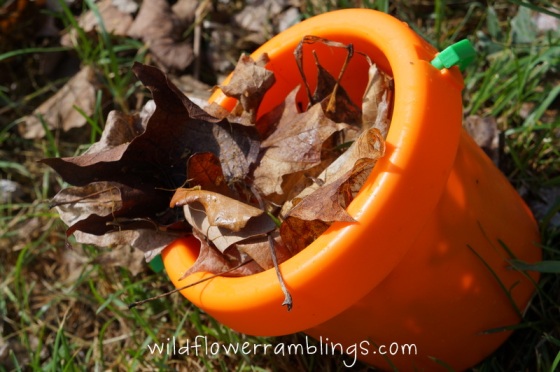
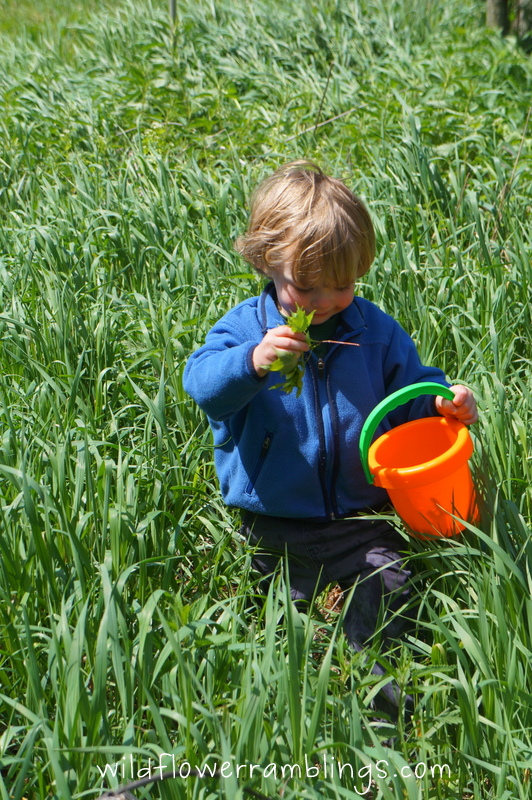
We went on a leaf hunt around our yard. He had so much fun discovering big and small and dead and alive leaves!


We made some ladybugs by cutting a potato in half and doing some good-ol’-fashioned potato stamping! We then worked with black paint to make all of the ladybugs friendly (“and not grouchy”) because the two ladybugs in the book are friends in the end : )
Thanks for visiting Wildflower Ramblings, if you’d like to receive post updates, please Like my Facebook Page!
Or follow my blog with Bloglovin!
I hope you have a wonderful week,

Check out my posts on the Early Literacy Stages:
This post is linked up at the Tot School Gathering Place and check out my Link-Up page for the other awesome places I may link this blog post!
Thank you for taking the time to leave a comment! ♥


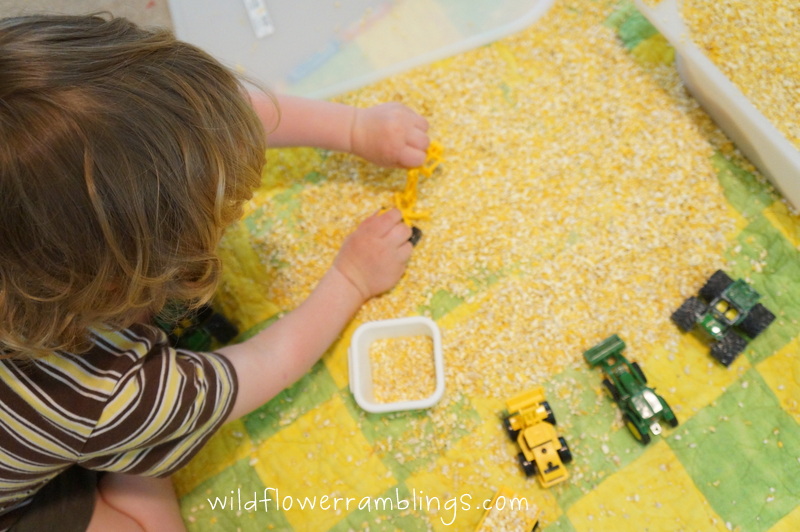
 Scooping with a spoon.
 Feeding his lambs.


 I don’t have any pictures of getting the actual handprints — I was very nervous and meticulous — but we came out unscathed and even my sweet baby opened her hand long enough for me to get her handprint ♥
